youtube pinterest twitter facebook instagram vimeo whatsapp Bookmark Entries BURGER NEW Chevron Down Chevron Left Chevron Right Basket Speech Comment Search Video Play Icon Premium Nigella Lawson Vegan Vegetarian Member Speech Recipe Email Bookmark Comment Camera Scales Quantity List Reorder Remove Open book
Menu Signed In
More recipes Recipe search

Montreal Bagels

A community recipe by

Not tested or verified by Nigella.com

Print me

Introduction

"Montrealers" are fiercely passionate about their famed bagels and deservedly so - there simply is no other bagel that compares! Denser, smaller and chewier than a regular bagel, with a distinct honey and malt essence that is utterly addictive when the bagel is eaten hot out of a wood fire oven with a slathering of cream cheese. My partner and I practically live off these during our travel in Montreal, and I'd often brave a 15 minute walk on a -20oC day to a smoky little bagel shop on the corner of Rue Saint Hubert, just to bring back half a dozen sesame seed bagels (our favourite) hot out of the wood oven that morning.

Ingredients

Serves: 12

  • 1½ cups tepid water
  • 5 tablespoons superfine sugar
  • 3 tablespoons canola oil (or other lightly flavoured cooking oil - I use rice bran oil)
  • dried yeast (1 sachet)
  • 1 large egg (free-range - beaten)
  • 1 tablespoon malt powder
  • 4½ cups bread flour (or other unbleached, white flour such as tipo '00')
  • ½ cup poppy seeds (or sesame seeds)
  • 6 water (for poaching)
  • ⅓ cup honey
  • 1 teaspoon kosher salt (optional - the authentic recipe calls for no salt, but a little does work nicely in the end result)

Method

Montreal Bagels is a community recipe submitted by Community and has not been tested by Nigella.com so we are not able to answer questions regarding this recipe.

  • In a large mixing bowl, combine tepid water, half the sugar and yeast, stirring until yeast dissolves. Add the remaining sugar, oil, egg and malt powder and combine well. Stir in salt (if using) and 1 cup of flour and combine to a smooth paste, then continue to fold in enough flour to make a soft dough (about 3 cups). Knead dough for 10-12 minutes on a lightly floured work surface, incorporating more flour as needed so that the dough is firm and smooth.
  • Smooth dough into a ball, place into a large, lightly floured mixing bowl and cover with cling film. Put this into a warm dry place to prove for about 10 minutes.
  • Divide the dough into 12 pieces and roll each piece into 20cm long ropes (or basically long enough to wrap around your hand with the ends overlapping a little). Take one length of the dough, curve around your hand so that the ends overlap in your palm, then push down your palm against the work surface to press the ends together, roll hand back and forth a little to further twist and adhere the ends to make the "bagel" shape (you can moisten ends with a little water first if it helps). Repeat with remaining dough. Set aside the "raw" bagels in a warm dry place to prove for another 30 minutes.
  • Toward the end of the 30 minutes, preheat oven to 220oC and line 2 baking trays with baking paper.
  • Fill a large pot with the 6 litres of water, add honey and bring to the boil. Drop bagels into boiling honey water (one or two at a time)and poach on one side for 45 seconds, then turn over and poach a further 45 seconds. Remove and drain either on a wire rack or on paper towels then sprinkle generously with seeds. Repeat until all bagels are poached in this way then place onto the baking trays and straight into the oven.
  • Bake for approximately 10 minutes or until golden on top, then remove bagels, turn over and return to the oven to bake until golden on both sides.
  • Serve immediately either plain, or with favourite spreads and condiments, or freeze to have when in need of comfort - in which case they taste better after defrosting if toasted and revived with a little butter.
  • Additional Information

    These also make interesting croutons or "crisps" to serve with dips and cheeses. If you have a slicer, get them sliced to very thin discs, brush with a little oil (and herbs if you like) and bake in a slow oven until completely dried, crunchy and golden. Store in an airtight container in a cool dry place for later use.

    Tell us what you think

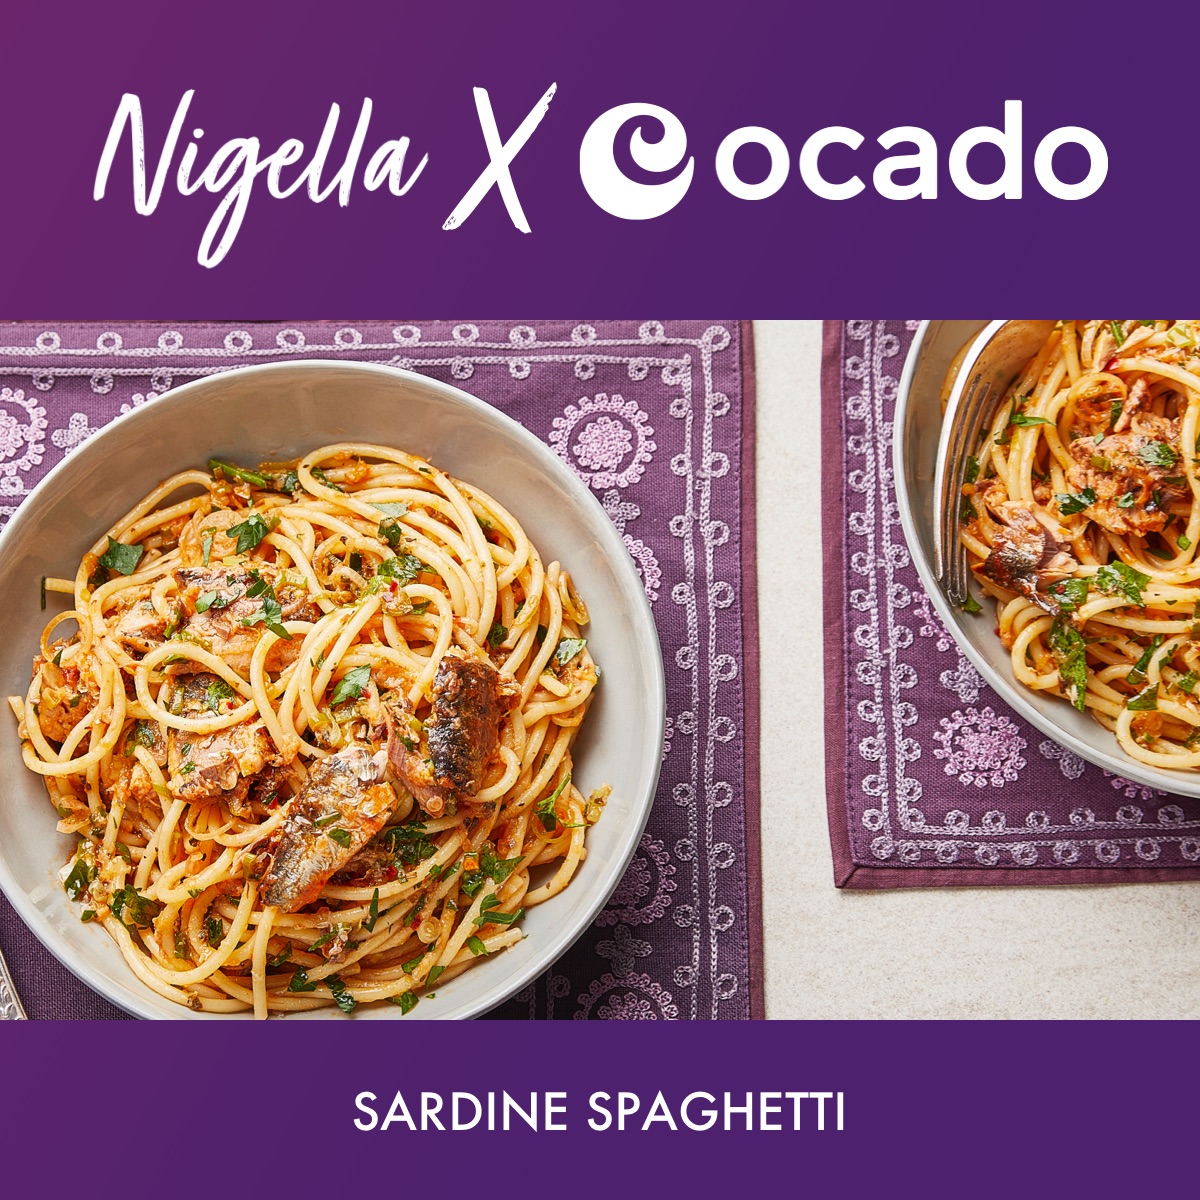
    Sardine Spaghetti