
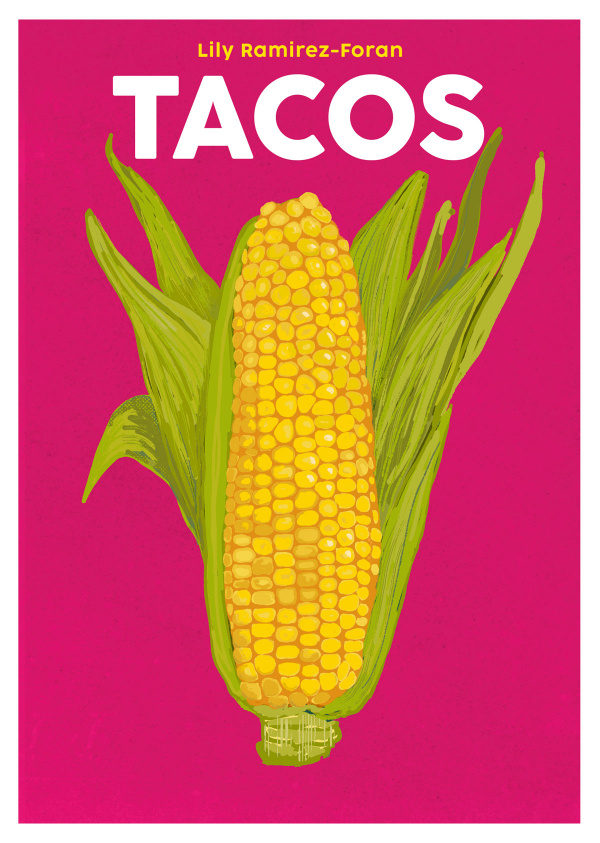
Corn Tortillas
by Lily Ramirez-Foran, featured in Tacos Published by Blasta BooksIntroduction
The first time I made corn tortillas in Ireland by hand, I made a mess of it. I used up my next monthly phone call home to talk to my mam about it. My family are third-generation traditional tortilla bakers, so not getting my tortillas right was a stain on the family’s name that I couldn’t bear! My mam’s advice was to forget everything I knew and remember what Grandpa Pedro said: ‘Masa is alive.’ To this day, I share that same advice with our students in the cookery school.
Practice makes perfect, so give it a few goes and don’t be discouraged by mistakes. The recipe is very simple, but it looks long because I’m sharing as many tips as I can to give you confidence and to explain the method in detail, helping you avoid the mistakes I made myself.
See this link for the illustrations that accompany the steps.
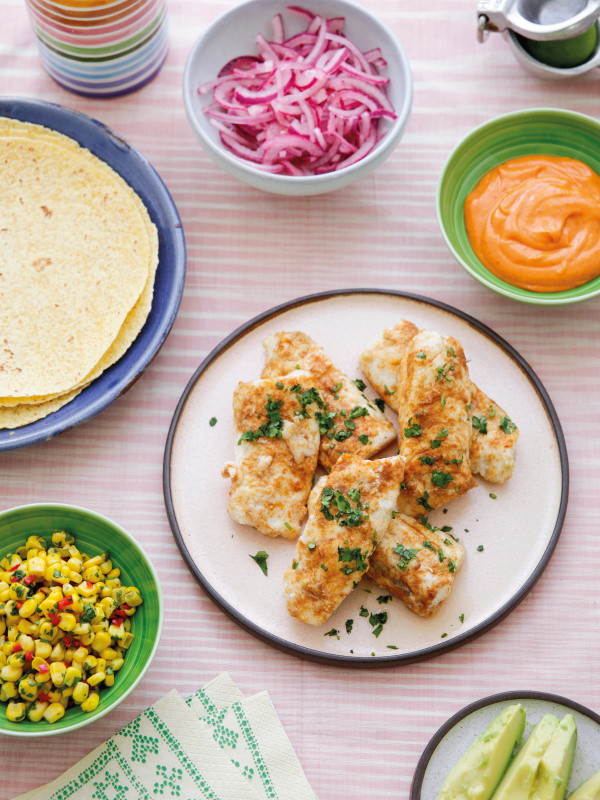
And for a way to eat your tortillas, see this link for Potato and Chorizo Tacos.
Ingredients
Serves: 4-6
- 500 millilitres boiling water
- 300 grams Mexican masa harina
- ⅛ teaspoon table salt
Method
Corn Tortillas is a guest recipe by Lily Ramirez-Foran so we are not able to answer questions regarding this recipe
Heat a dry, non-stick crepe or pancake pan over a medium-high heat for 5 minutes. While the pan heats, boil the kettle with about 600ml of water (it’s good to have a little extra in addition to the 500ml called for in the recipe in case the dough needs it).
- Put the masa harina and salt in a large heatproof bowl and mix it well using a fork. Pour the 500ml of boiling water over the dry ingredients and start mixing everything with your fork. Use your fork as if you were mashing potatoes with it, pressing with the back of the tines to bring everything together to form a dough. Don’t stick your hands into the dough until you’re absolutely sure you won’t burn yourself. Masa sticks to your fingers like caramel and it can cause serious burns if you’re not careful.
- As soon as you can work with the dough without getting burned, ditch the fork and bring it all together with your hands. Your aim is to form one big ball of warm masa with the consistency of wet playdough. You do not need to knead the masa for a certain amount of time or rest it because there is no gluten in corn, so there are no gluten strands to develop. As soon as it comes together in a smooth ball, the masa is ready. Because masa is quite sticky, it must be pressed between two sheets of plastic or else it will stick to the cast-iron press. Open your tortilla press and line it with one of the plastic sheets that comes with it (no single-use plastic here!). Use those sheets till they are in tatters, then replace them with a freezer bag cut into two, which is the best plastic for the job.
- Roll some masa between your palms to make a ball slightly smaller than the size of a golf ball (around 30g). Place it in the middle of the tortilla press, on top of the plastic sheet, bang on in the centre. Tortilla presses have a design fault – the pressure is greater closer to the handle – so placing your ball exactly in the centre will give you a more even tortilla. If it does go off centre, the tortilla will spill outside of the edges of the press and break.
- Press the ball of masa slightly with your fingers to prevent it from rolling out of place. Cover the ball with the second piece of plastic.
- Close the lid of the tortilla press and press it using the handle.
- Open the tortilla press again and you’ll see that your ball of dough is now a perfectly round and evenly thin tortilla – it should be slightly thicker than a sheet of paper. If it’s too thick, though, close the tortilla press and put a little more pressure in the handle this time. You’ll get the hang of this pretty quickly.
- Peel off the top plastic sheet. Lift the second plastic sheet (which now has the tortilla on it) and flip it into your hand, leaving the tortilla resting in your hand and peeling off the plastic easily that way. Resist the temptation to make loads of little balls, press them all and then cook them together. For masa to work, it must be wet and hot. The minute the masa starts cooling off or drying out your tortillas will suffer, so keep the masa in one big ball for as long as possible and make just one tortilla at a time. You’ll get so good at making them, you won’t even notice.
- Tortillas have a soft side and a hard side and we give these to them through the way we cook them. This is ancient knowledge, so pay attention to it, as the success of your tortilla depends on it. Place the tortilla in the completely dry preheated pan – no butter, oil or grease in any shape or form – and cook it for 10 seconds. The tortilla should now glide around on the pan, so using your fingers, slide it towards you and flip it gently. Cook the second side of the tortilla for 1 minute. As soon as the 1 minute timer goes off, use an egg lifter or fish slice to flip the tortilla again to finish cooking the first side. At this point, your tortilla should slowly start to rise in a gorgeous puff. Do not touch it until it stops puffing or it collapses, at which point it is fully cooked and ready to be taken out of the pan and into your tortilla cosy or tea towel. Cooking the tortillas this way gives them their structure, creating a soft side (the one that you cooked in two parts) and a hard side (the side that was cooked for 1 minute). The structure of your tortilla is very important, as if you cook both sides for too long, you’ll have two hard sides, which means the tortilla will have no flexibility and it will crack when you try to roll it or fold it. On the other hand, if you don’t cook it long enough on both sides, the tortilla will be too soft and it will fall apart when you try to fill it. The hard side is always used as the outside of the taco to give the taco more robustness, while the soft side is the one that cradles the filling and absorbs some of the juices. Repeat all the steps above until you have used up all the masa. Halfway through the dough, you might notice that the tortilla edges start getting jagged – this is a sign that your masa has dried. Just top it up with a little bit of lukewarm water from the kettle and knead it again to refresh it. The tortilla edges will be smooth again.
- Take the tortilla out of the pan (with an egg lifter or fish slice so you don’t burn yourself from the steam) and place it into your cosy or tea towel with the soft side facing down. This will prevent them from sticking to each other. Fresh tortillas last two or three days max, so it’s best to make only what you need. Store any leftovers wrapped in a clean tea towel inside a plastic bag in the fridge.


Tell us what you think
Thank you {% member.data['first-name'] %}.
Explore more recipesYour comment has been submitted.