
Ginger Crunch
A community recipe by hammyrodentNot tested or verified by Nigella.com
Print me
Preheat oven to 180C. Line a 9" square tin with baking parchment. Put flour, sugar, baking powder and ginger into the bowl of a food processor and pulse briefly in lieu of sifting. Tip in the butter and pulse. When half-mixed, add the ginger pieces and continue pulsing until the mixture resembles breadcrumbs. If it clumps together claggily, you've gone too far. It'll still taste fine, though. Press crumbs evenly over base of the tin. Bake for approximately 30 minutes until puffed up and golden brown. Do not remove from tin. Put tin on a wire rack. Before the end of the cooking time, prepare the icing. Melt the butter and golden syrup together in a medium saucepan over medium heat. Tip in the sifted icing sugar and ginger and stir well. Cook for another minute or two--this prevents the butter from "leaking" out of the icing--then quickly pour the icing over the still piping hot base. Shake the tin gently--with oven glove on!--to even it out and ensure icing gets all the way to the corners, then leave to set. When set cut into squares or bars. Store in an airtight tin or plastic tub.
Preheat oven to 180C. Line a 9" square tin with baking parchment. Put flour, sugar, baking powder and ginger into the bowl of a food processor and pulse briefly in lieu of sifting. Tip in the butter and pulse. When half-mixed, add the ginger pieces and continue pulsing until the mixture resembles breadcrumbs. If it clumps together claggily, you've gone too far. It'll still taste fine, though. Press crumbs evenly over base of the tin. Bake for approximately 30 minutes until puffed up and golden brown. Do not remove from tin. Put tin on a wire rack. Before the end of the cooking time, prepare the icing. Melt the butter and golden syrup or light corn syrup together in a medium saucepan over medium heat. Tip in the sifted confectioners' sugar and ginger and stir well. Cook for another minute or two--this prevents the butter from "leaking" out of the icing--then quickly pour the icing over the still piping hot base. Shake the tin gently--with oven glove on!--to even it out and ensure icing gets all the way to the corners, then leave to set. When set cut into squares or bars. Store in an airtight tin or plastic tub.
Introduction
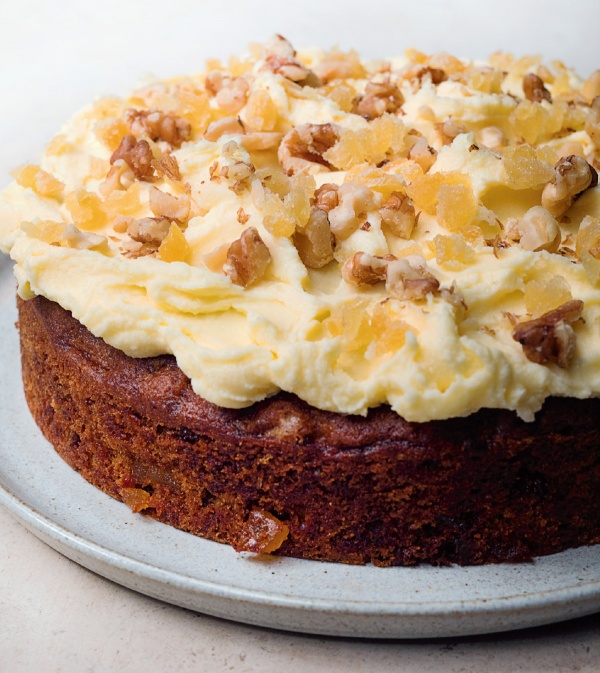
A gorgeous ginger tray bake stolen from Angela on http://www.aspoonfulofsugar.net
A gorgeous ginger tray bake stolen from Angela on http://www.aspoonfulofsugar.net
For US measures and ingredient names, use the toggle at the top of the ingredients list.
Ingredients
Serves: 6
Metric
U.S.
For the Base
- 200 grams plain flour
- 100 grams caster sugar
- 1 teaspoon baking powder
- 1 teaspoon ground ginger
- 125 grams unsalted butter (softened)
- 40 grams crystallised ginger (roughly chopped)
For the Icing
- 150 grams unsalted butter
- 4 tablespoons golden syrup
- 270 grams icing sugar (sifted)
- 1 tablespoon ground ginger
For the Base
- 7 ounces all-purpose flour
- 3½ ounces superfine sugar
- 1 teaspoon baking powder
- 1 teaspoon ground ginger
- 4⅖ ounces unsalted butter (softened)
- 1⅖ ounces candied stem ginger (roughly chopped)
For the Icing
- 5⅓ ounces unsalted butter
- 4 tablespoons golden syrup or light corn syrup
- 9½ ounces confectioners' sugar (sifted)
- 1 tablespoon ground ginger
Method
Ginger Crunch is a community recipe submitted by hammyrodent and has not been tested by Nigella.com so we are not able to answer questions regarding this recipe.


Tell us what you think
Thank you {% member.data['first-name'] %}.
Explore more recipesYour comment has been submitted.
What 1 Other has said
-
Posted by AngelaToms on 27th July 2011
Show more commentsHi.... I just wanted to say that I tried this to take on a camping trip and it was a HUGE success! Easy to make and easy to eat....yuuummm